Let’s talk about how to customize boxes from the following aspects.
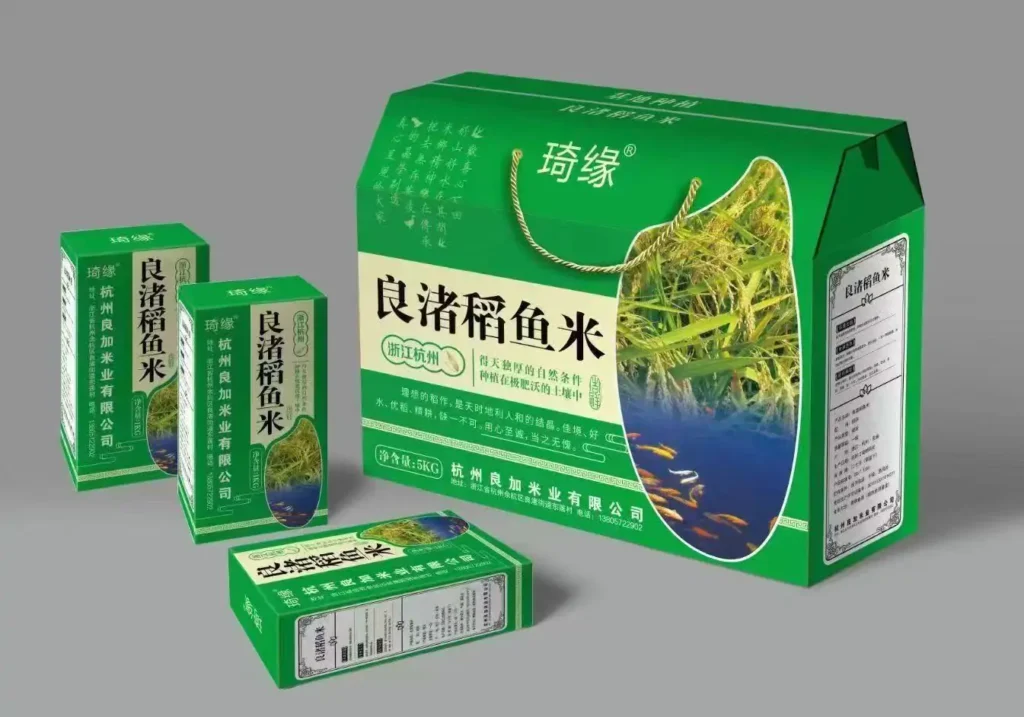
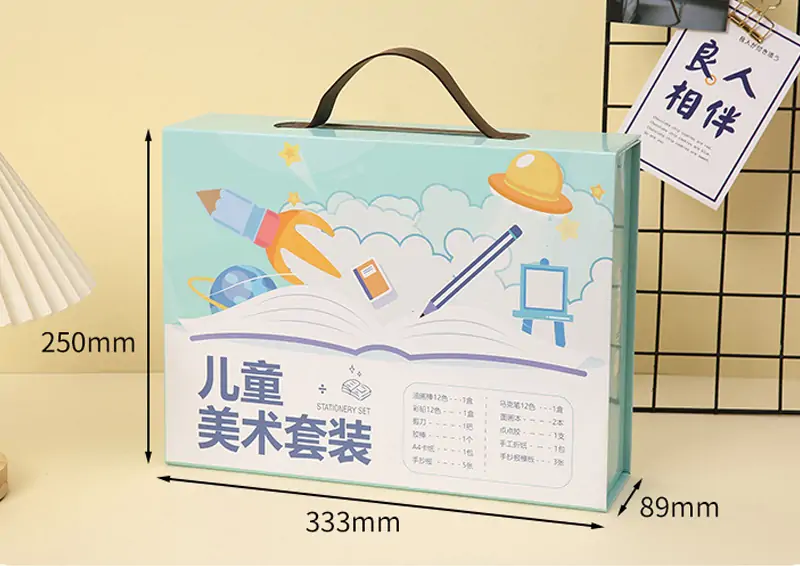
1:Determine the Purpose and Size of the Customized Box
Start by defining the box’s intended use—whether for shipping fragile items, luxury product packaging, or creative gifting. Measure the item’s exact length, width, and height, adding 0.5-1 cm to each dimension to ensure a snug fit with protective padding. For irregularly shaped objects, consider creating a mock-up using scrap paper.For fragile items, consider adding blister packs to protect the product. Factor in structural needs: shipping boxes may require thicker walls, while decorative boxes prioritize lightweight materials. Sketch a rough layout, noting features like handles, inserts, or locking flaps. Precise planning at this stage ensures functionality, cost-efficiency, and alignment with branding or aesthetic goals.
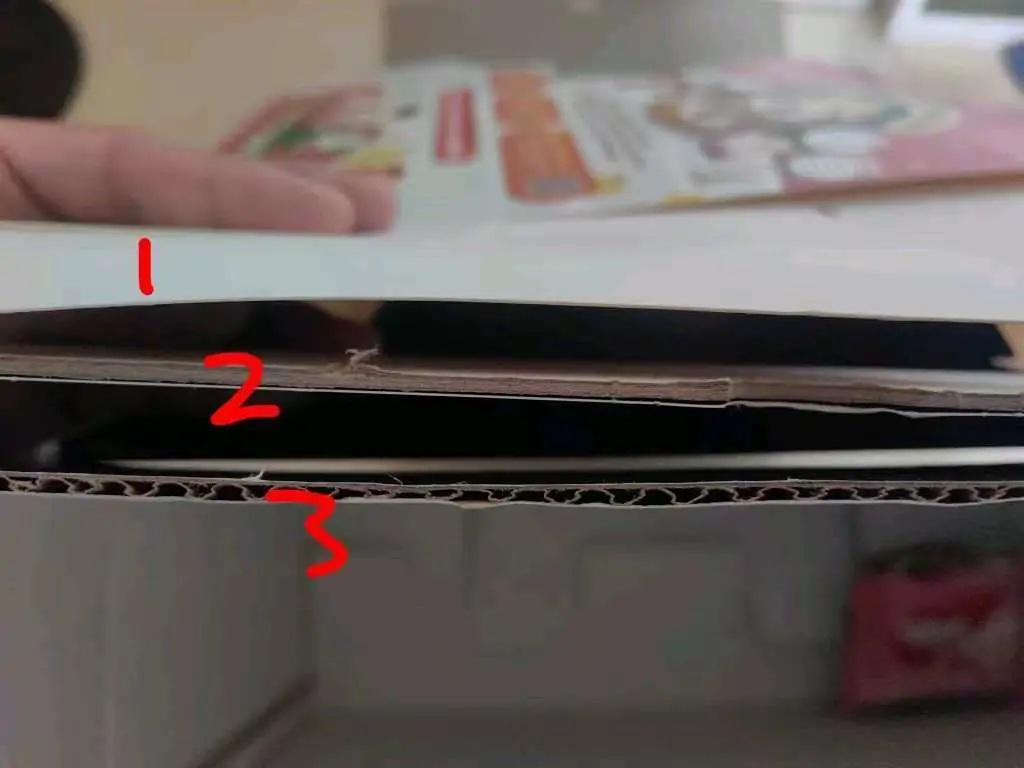
2:Choose Materials
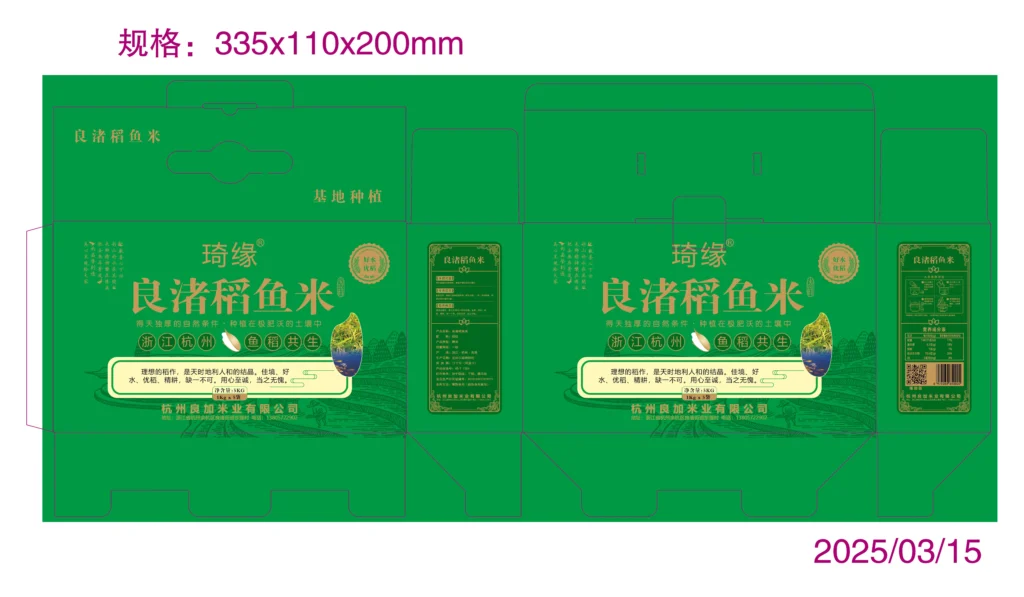
3:Designing Custom Die-Cutting Templates
Creating custom die-cutting templates involves precision to match your product’s unique shape and dimensions. Start by outlining the box structure in CAD software or hand-drawn sketches, focusing on fold lines, tabs, and cavities for inserts like blister or pulp trays. Custom templates ensure material efficiency, structural integrity, and seamless assembly. Incorporate brand-specific features (e.g., logo cutouts or ergonomic handles) while optimizing for durability. Prototype testing refines the design, balancing aesthetics with functionality. Tailored die-cuts adapt to diverse industries—from luxury packaging with intricate patterns to eco-friendly solutions with minimal waste—making customization key to achieving protective, practical, and visually striking results.
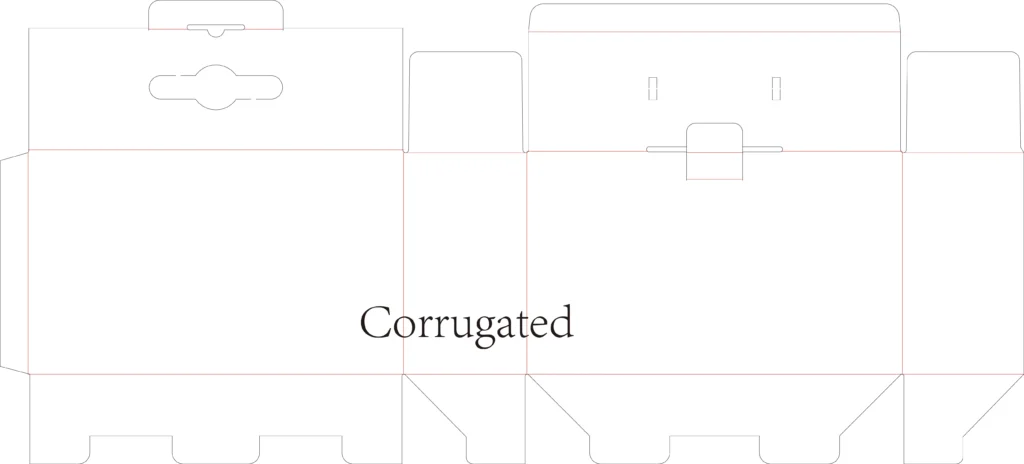
With the tangent line, we need to create a design on top of it, including the logo and favorite images
4:Assemble